If you’re thinking about installing artificial grass, here’s the thing: a beautiful, lush lawn doesn’t start with the turf itself; it starts with the ground beneath it.
Getting the base right is the difference between a lawn that looks great for a few months and one that stays perfect for years.
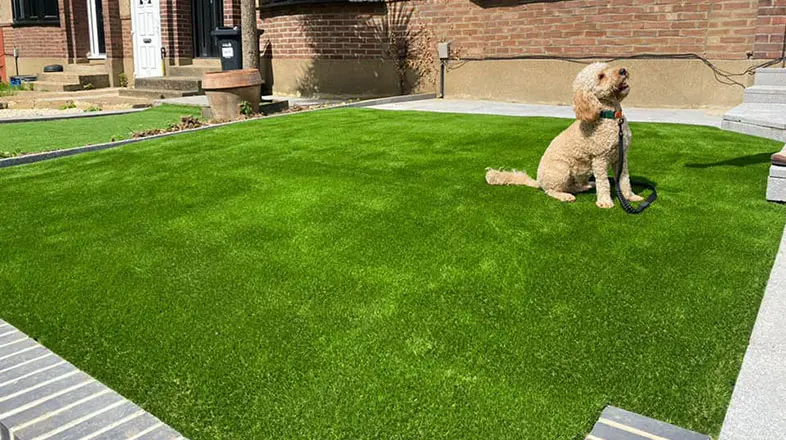
At Superior Lawn, we’ve helped thousands of homeowners create low-maintenance, vibrant lawns, whether it’s with our mid-range, premium artificial grass, pet-friendly, or sports-friendly turf.
The truth is, no matter which type you choose, preparing the ground properly is the foundation of a successful installation.
In this guide, we’ll walk you through each step of preparing your ground for artificial grass, share practical tips, and highlight the common mistakes to avoid so you can get a flawless, long-lasting lawn.
- So… Is Artificial Grass Truly Safe for Children?
- What Makes Artificial Grass Safe for Children?
- How to Create a Child-Safe Artificial Grass Play Zone
- FAQs: What Every Parent Wants to Know
- Can kids play barefoot on artificial grass?
- Will artificial grass give my child rug burns?
- What if my child spills food or gets sick on the grass?
- Is it safe for babies and toddlers?
- Does artificial grass smell?
- Is it safe under the playground equipment?
- Will it help with allergies?
- Does artificial grass get too hot in summer?
Table of Contents
ToggleQuick Answer: What Proper Ground Prep Looks Like
Getting the ground ready for artificial grass doesn’t have to be complicated.
Here’s what proper preparation looks like in a nutshell:
-
Clear and level the area:
Remove existing grass, weeds, and debris, and make sure the soil is even. -
Ensure proper drainage:
A well-draining base prevents puddles and keeps your lawn looking fresh. -
Build a solid sub-base:
Crushed stone or similar materials create a stable foundation for your turf. -
Compact and check:
Lightly tamp the surface to make it firm, smooth, and ready for laying any type of artificial grass.
Before You Start: 3 Factors That Change Everything
Before you pick up a shovel or order your turf, it helps to understand three key factors that affect how your artificial lawn will perform.
Getting these right makes artificial grass installation smoother and ensures your turf lasts for years.
Soil Type (Clay, Sandy, Rocky)
The type of soil you have will determine how you prepare the base. Clay soils hold water and need extra drainage, sandy soils are easier to level but may shift over time, and rocky soils require more excavation and smoothing.
Knowing your soil type upfront helps you choose the right base materials and prevents problems like uneven surfaces or water pooling.
Drainage Condition
Water is your lawn’s biggest enemy if it can’t drain properly. Check whether your area naturally drains well or tends to collect puddles.
You may need to adjust the slope or add drainage channels before laying any turf. Proper drainage protects your investment and keeps your turf looking fresh and vibrant.
Must Read: Why Your Artificial Lawn Isn’t Draining Properly and What To Do About It
Usage (Pets, Foot Traffic, Decorative)
How you plan to use the lawn changes the prep needed. A decorative area might need less compaction, while a pet-friendly or sports-friendly lawn requires a firmer, more robust base. Thinking about traffic in advance ensures that your chosen turf performs exactly how you expect.
Tools & Materials You’ll Need (Simple Checklist)
Here’s a quick list of what you’ll need to prep your ground efficiently:
- Shovel and garden rake
- Wheelbarrow
- Plate compactor or hand tamper
- Crushed stone or sub-base material
- Weed barrier fabric (optional)
- Edging materials
- Levelling tools (string line or laser level)
Using quality materials makes a big difference. With superior quality artificial turf, pairing it with the right base ensures a smooth, long-lasting finish.
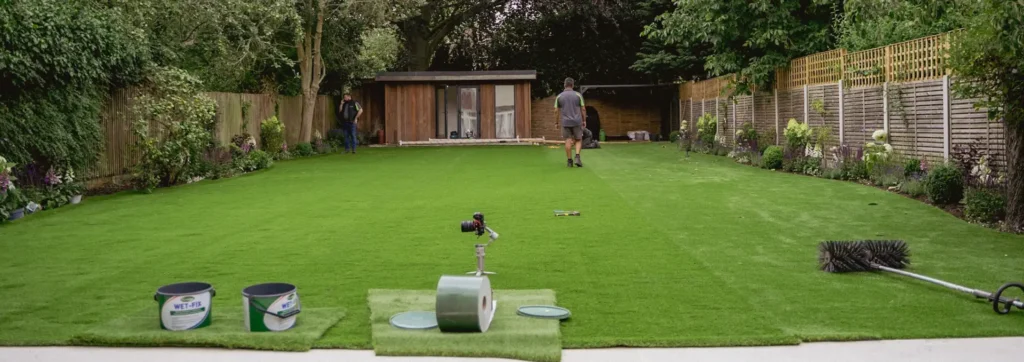
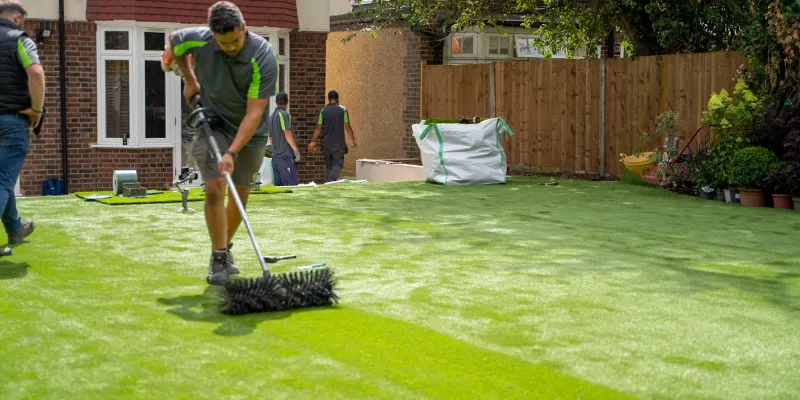
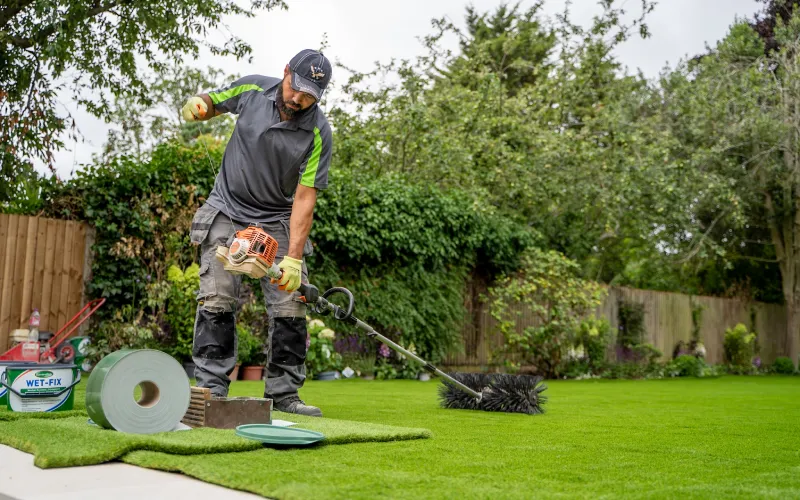
Step-by-Step Ground Preparation for Artificial Grass Installation
Proper preparation is what makes your artificial lawn look natural and last for years.
Follow these steps carefully to get it right.
Plan & Mark the Area
Start by measuring and marking out the area for your lawn. Use stakes and string to outline the boundaries. Planning now prevents surprises later and ensures your turf fits perfectly without awkward cuts or gaps.
Remove Grass, Weeds & Debris
Clear the area completely of any existing grass, weeds, roots, or debris. You want a clean, bare surface to work with. This prevents bumps and uneven patches once your turf is laid.
Excavate the Area (Depth Guide)
Excavate the soil to the right depth, usually 2–4 inches, depending on soil type and drainage needs. Remove loose soil and stones to create a smooth, even surface. This layer will hold your sub-base and prevent settling over time.
Fix Drainage Issues
Check the slope of your lawn—ideally, there should be a slight gradient to allow water to run off. If your area tends to hold water, install drainage channels or create small gradients to prevent puddles from forming under the turf.
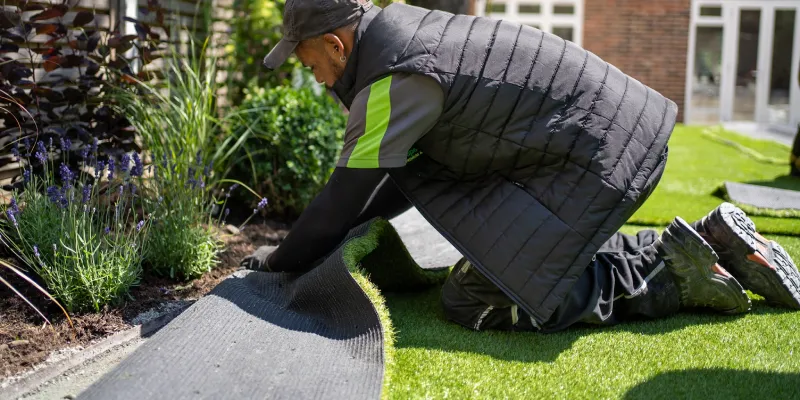
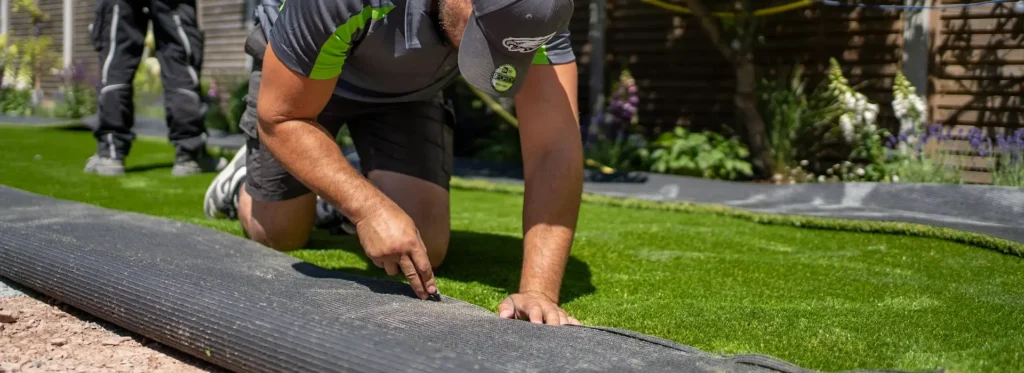
Install Edging
Place edging along the perimeter to keep the base material and turf in place. This can be plastic, metal, or timber edging, depending on your preference. Edging ensures clean, defined borders and prevents the lawn from shifting over time.
Add Weed Barrier (Optional)
Lay a weed barrier fabric over the excavated area. While not strictly necessary, it helps prevent weeds from pushing through your turf and reduces maintenance. Cut the fabric to fit snugly against the edging.
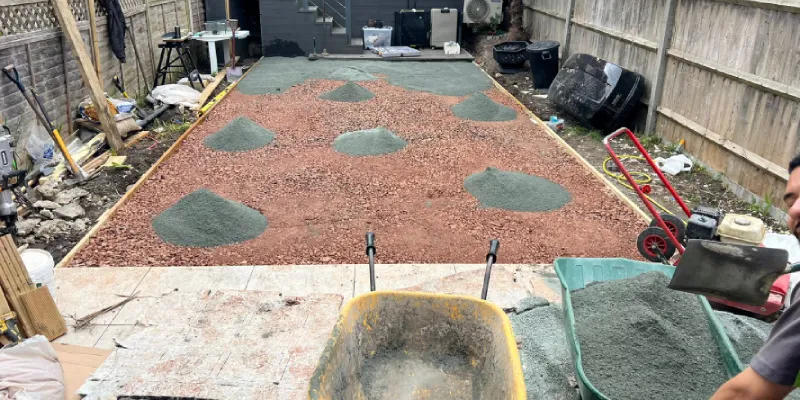
Build the Base Layer
Spread a layer of crushed stone, gravel, or another sub-base material evenly over the excavated area. This layer provides stability and drainage. Make sure it’s the correct depth and distributed evenly across the surface.
Level & Grade the Surface
Use a rake or straightedge to level the base. Pay attention to slopes and high or low spots. The smoother and more even the base, the more natural your artificial grass will look once installed.
Install Compact the Base
Compact the base layer using a plate compactor or hand tamper. Proper compaction prevents shifting and ensures your turf remains firm underfoot. Lightly dampening the base before compacting can help achieve a stable, solid surface.
Final Check Before Turf Installation
Walk over the surface and inspect for uneven spots or drainage issues. Make any final adjustments to ensure the base is smooth, firm, and ready for turf. A careful final check now saves headaches later.
Related Read: How to Lay Artificial Grass (The Complete Step-by-Step Guide)
Ground Preparation Based on Soil Type
Clay Soil
- Break up heavy clumps to improve drainage.
- Add sand or organic matter to reduce compaction.
- Avoid working when wet—it’ll compact even more.
Sandy Soil
- Add organic matter to retain moisture and nutrients.
- Water more frequently but avoid waterlogging.
- Consider a slow-release fertiliser to compensate for nutrient leaching.
Hard or Rocky Ground
- Remove large rocks and debris.
- Use a rototiller or pickaxe to loosen soil.
- Consider raised beds if digging is too difficult.
Existing Lawn or Concrete
- Remove turf or break concrete for proper root growth.
- Test the soil beneath for quality before planting.
- Level and amend the soil before seeding or planting.
Common Mistakes to Avoid When Preparing Ground
- Skipping soil testing leads to poor growth.
- Working soil when too wet or too dry.
- Ignoring drainage issues, waterlogging kills plants.
- Overlooking weeds or old roots, they compete for nutrients.
- Not adjusting soil type with amendments, plants struggle in unsuitable soil.
Cost of Preparing Ground for Artificial Grass
DIY vs Professional
- DIY: Labour is free if you do it yourself, but expect to spend on tools, soil amendments, weed barriers, and aggregate base. Typical range: $3–$7 per sq ft.
- Professional: Contractors include labour, base preparation, and installation. Rough range: $7–$12 per sq ft, depending on site complexity and materials.
Key Factors That Affect Cost
- Size of the area
- Soil type and condition
- Removal of existing lawn, concrete, or debris
- Drainage requirements
Ready to Get Started?
If you’ve read this far, you now have a solid understanding of how to prepare any surface for artificial grass, from soil types to drainage and installation. Follow these steps, and you’ll set yourself up for a smooth, durable, and low-maintenance lawn.
If you need high quality, professional installation in London, contact us, or book a free, no-obligation survey today.
Frequently Asked Questions
Can you lay artificial grass directly on soil?
Technically yes, but it’s not ideal. Soil alone can settle, retain moisture, and promote weeds. A proper base ensures durability, drainage, and a flat surface.
What is the best base for artificial grass?
A compacted layer of crushed stone or aggregate topped with sand is standard. This provides stability, drainage, and prevents uneven settling.
Do you need drainage under artificial grass?
Yes. Even a slight slope with a permeable base prevents water pooling. Proper drainage protects the grass and prevents odor or mold.
How deep should you dig?
Typically 2–4 inches for standard residential installations. Adjust depth based on soil type and whether you’re removing existing lawn, concrete, or compacted soil.
How to lay artificial turf on concrete
- Clean the surface and remove debris.
- Add a shock-absorbing underlay or outdoor foam (optional, but recommended for comfort).
- Lay the turf, trim edges, and secure with adhesive or turf nails.
- Brush infill sand if using it for stability and weight.